Published on May 24, 2025
How to Use the Chown Command in Linux
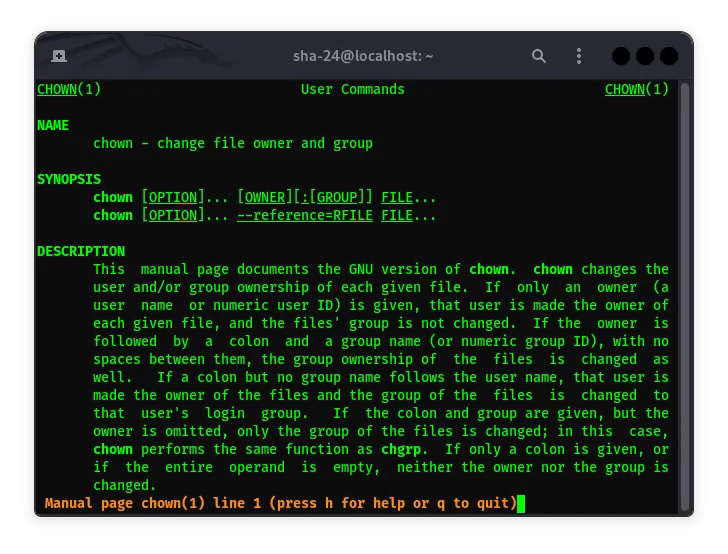
The chown command is one of the essential commands in Linux that is used to change the ownership of files and directories. This command allows you to control who has access to a particular file and how they can interact with it. This article will discuss in detail about the use of the chown command, including its syntax, usage examples, and the various options and flags available.
Understanding the chown Command
chown stands for “change owner” which means changing the owner of a file or directory. In Linux
and Unix
operating systems, every file and directory has a defined owner and group. The owner is usually the user who created the file, while the group is a group of users who have certain rights to the file or directory.
Basic chown Syntax
The general syntax of the chown command is as follows:
chown [options] owner[:group] file
- owner: The new user name or UID (User ID).
- group (optional): The new group name or GID (Group ID).
- file: The name of the file or directory whose ownership you want to change.
Changing File Ownership
To change the owner of a file, you can use the following command:
chown user file
Example:
chown alice dokument.txt
This command will change the owner of the file dokument.txt to the user alice.
Changing File Group
To change the group of a file, you can use the following syntax:
chown :grup file
Example:
chown :staff dokument.txt
This command will change the group of the file dokument.txt to the group staff.
Changing Owner and Group at Once
To change the owner and group at once, you can use the following command:
chown user:group file
Example:
chown alice:staff dokument.txt
This command will change the owner of the file dokument.txt to alice and the group to staff.
Using UID and GID
In addition to using the username and group, you can also use UID and GID. Example of using UID and GID:
chown 1001:1001 dokument.txt
This command will change the owner of the file dokument.txt to the user with UID 1001 and the group with GID 1001.
Changing Ownership of a Directory and Its Contents
To change ownership of a directory and all its files and subdirectories, use the -R (recursive) option:
chown -R user:group directory
Example:
chown -R alice:staff /home/alice/docs
This command will change the owner and group of the /home/alice/docs directory and all its contents to alice and staff.
Changing Ownership of Files Based on References
You can also use the chown command to adjust the ownership of a file based on another file that it references. Example of its use is:
chown --reference=reference_file target_file
Example:
chown --reference=example.txt dokument.txt
This command will change the ownership of the dokument.txt file according to the ownership of the example.txt file.
Using the chown Command with Additional Options
Some additional options that can be used with the chown command include:
-cor--changes: Displays the changes made.-vor--verbose: Displays a message for each file processed.--preserve-root: Protects the root directory from being owned.
Example:
chown -v alice dokument.txt
This command will change the owner of the dokument.txt file to alice and display a message about the changes made.
Troubleshooting Permissions
To run the chown command, you need administrator permissions. Therefore, you usually have to use sudo in front of the chown command to get the necessary permissions.
Example:
sudo chown alice dokument.txt
Difference between chown and chmod
The chown command changes the owner and group of a file, while chmod is used to change file access permissions. Both complement each other in managing file security in Linux.
Conclusion
The chown command is a very useful tool in file management in Linux, allowing you to set file and directory ownership with great flexibility. By understanding the various options and how to use them, you can efficiently manage files and directories according to user and group access needs.
With this article, it is hoped that you have gained a deep understanding of the use of the chown command in Linux, so that you can apply it in various system administration situations.
That’s all the articles from Admin, hopefully useful… Thank you for stopping by…

